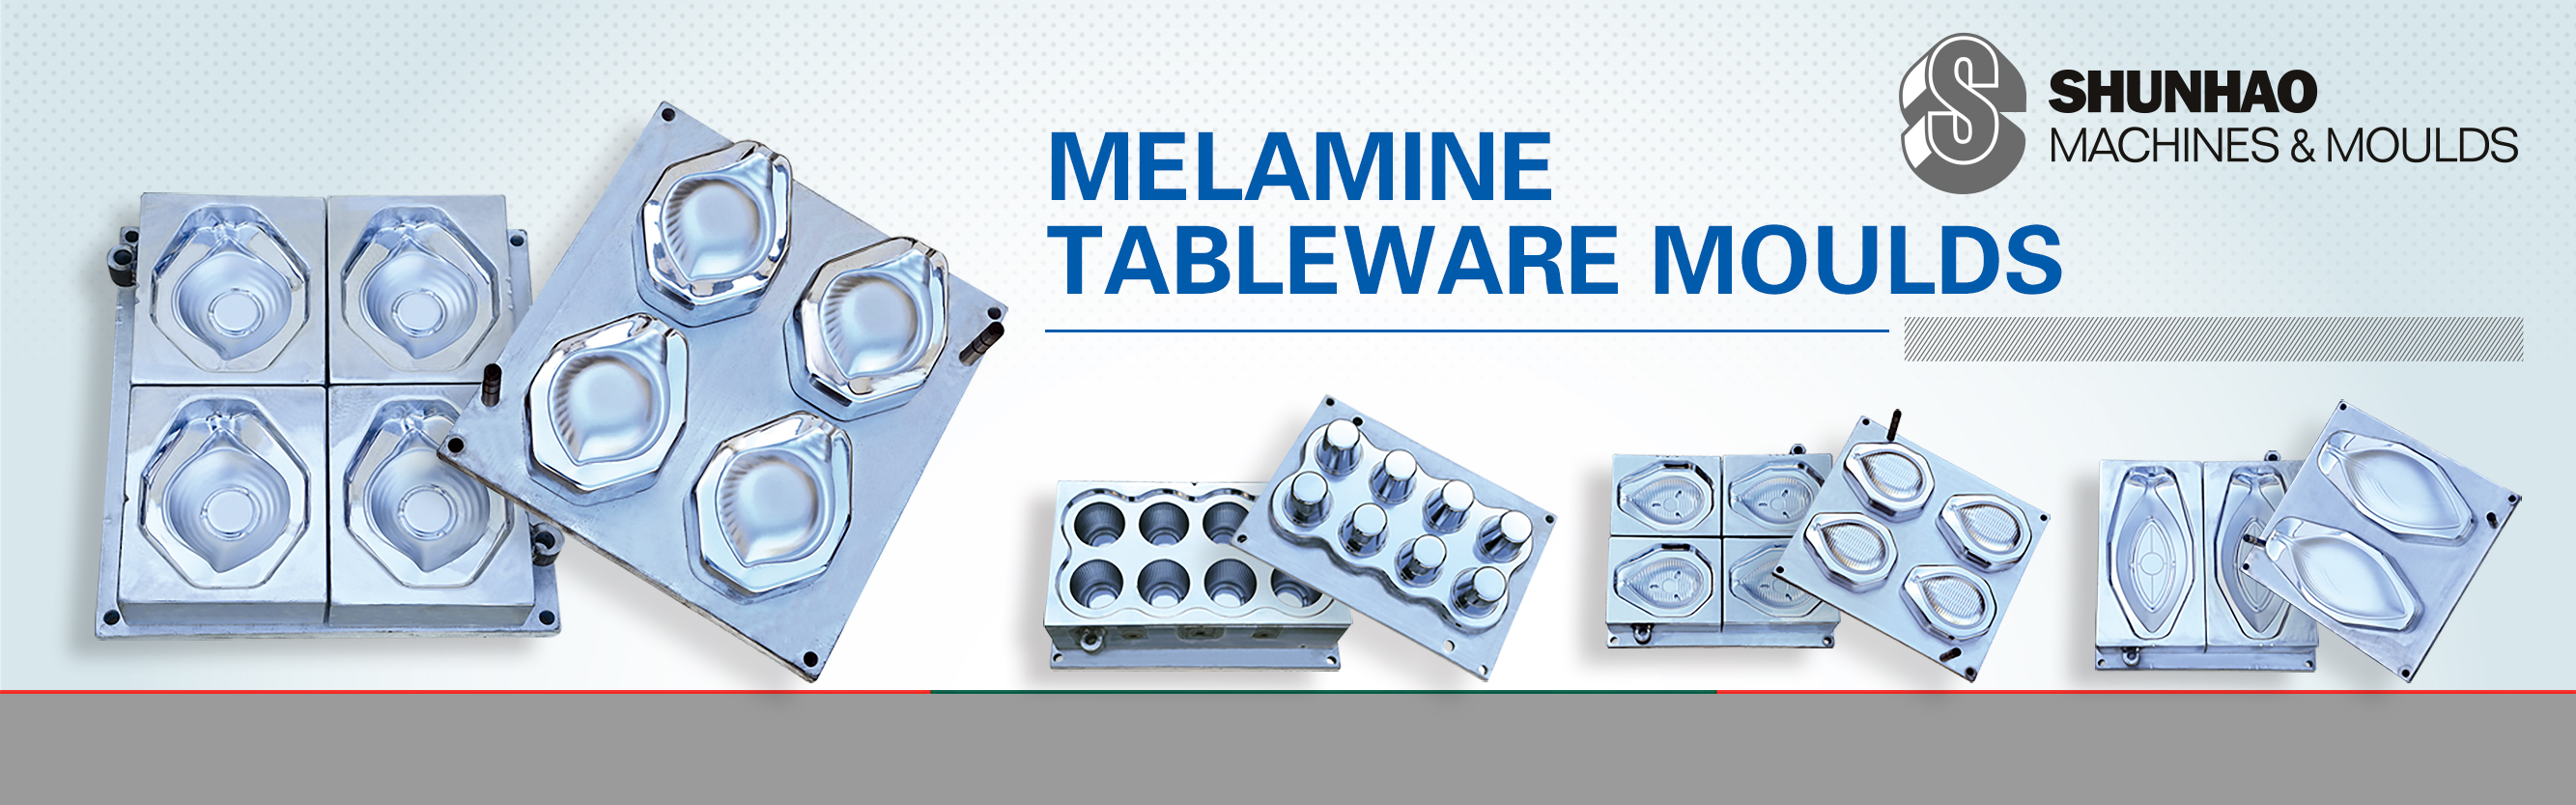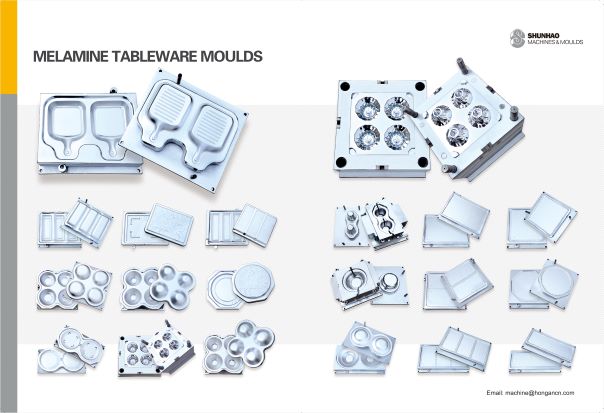
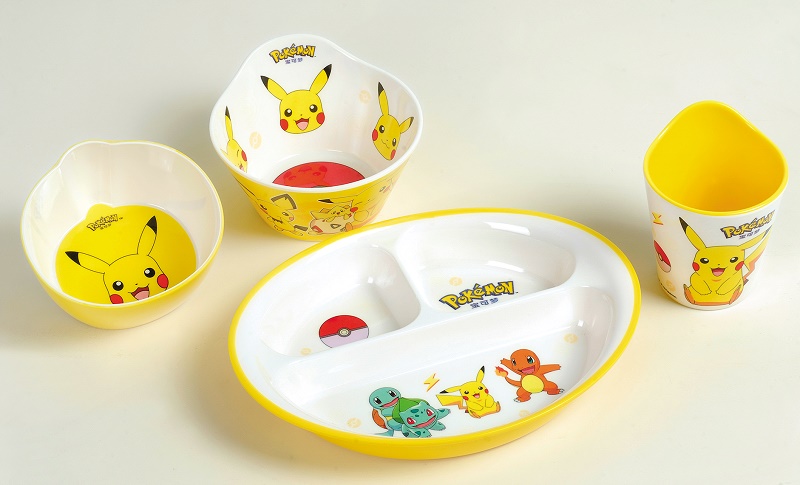
Shunhao moulds factory can make molds: 1. Melamine crockery moulds 2. Urea crockery moulds 3. Glossy melamine moulds 4. Matt finished melamine moulds ...
Shunhao factory has been serving the machines and molds to melamine tableware factories, urea tableware factories, UF toilet seat and cover factories ...
Rice husk tableware Introduction: Rice husk tableware is to regenerate this discarded rice husk into natural, healthy and free of any harmful chemical...
Rationally view the harm of melamine tableware 1) What is melamine tableware Melamine tableware is made from melamine powder (known in the industry as...
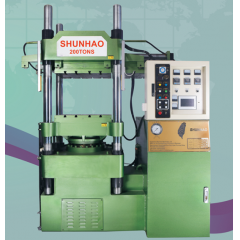
item no.:
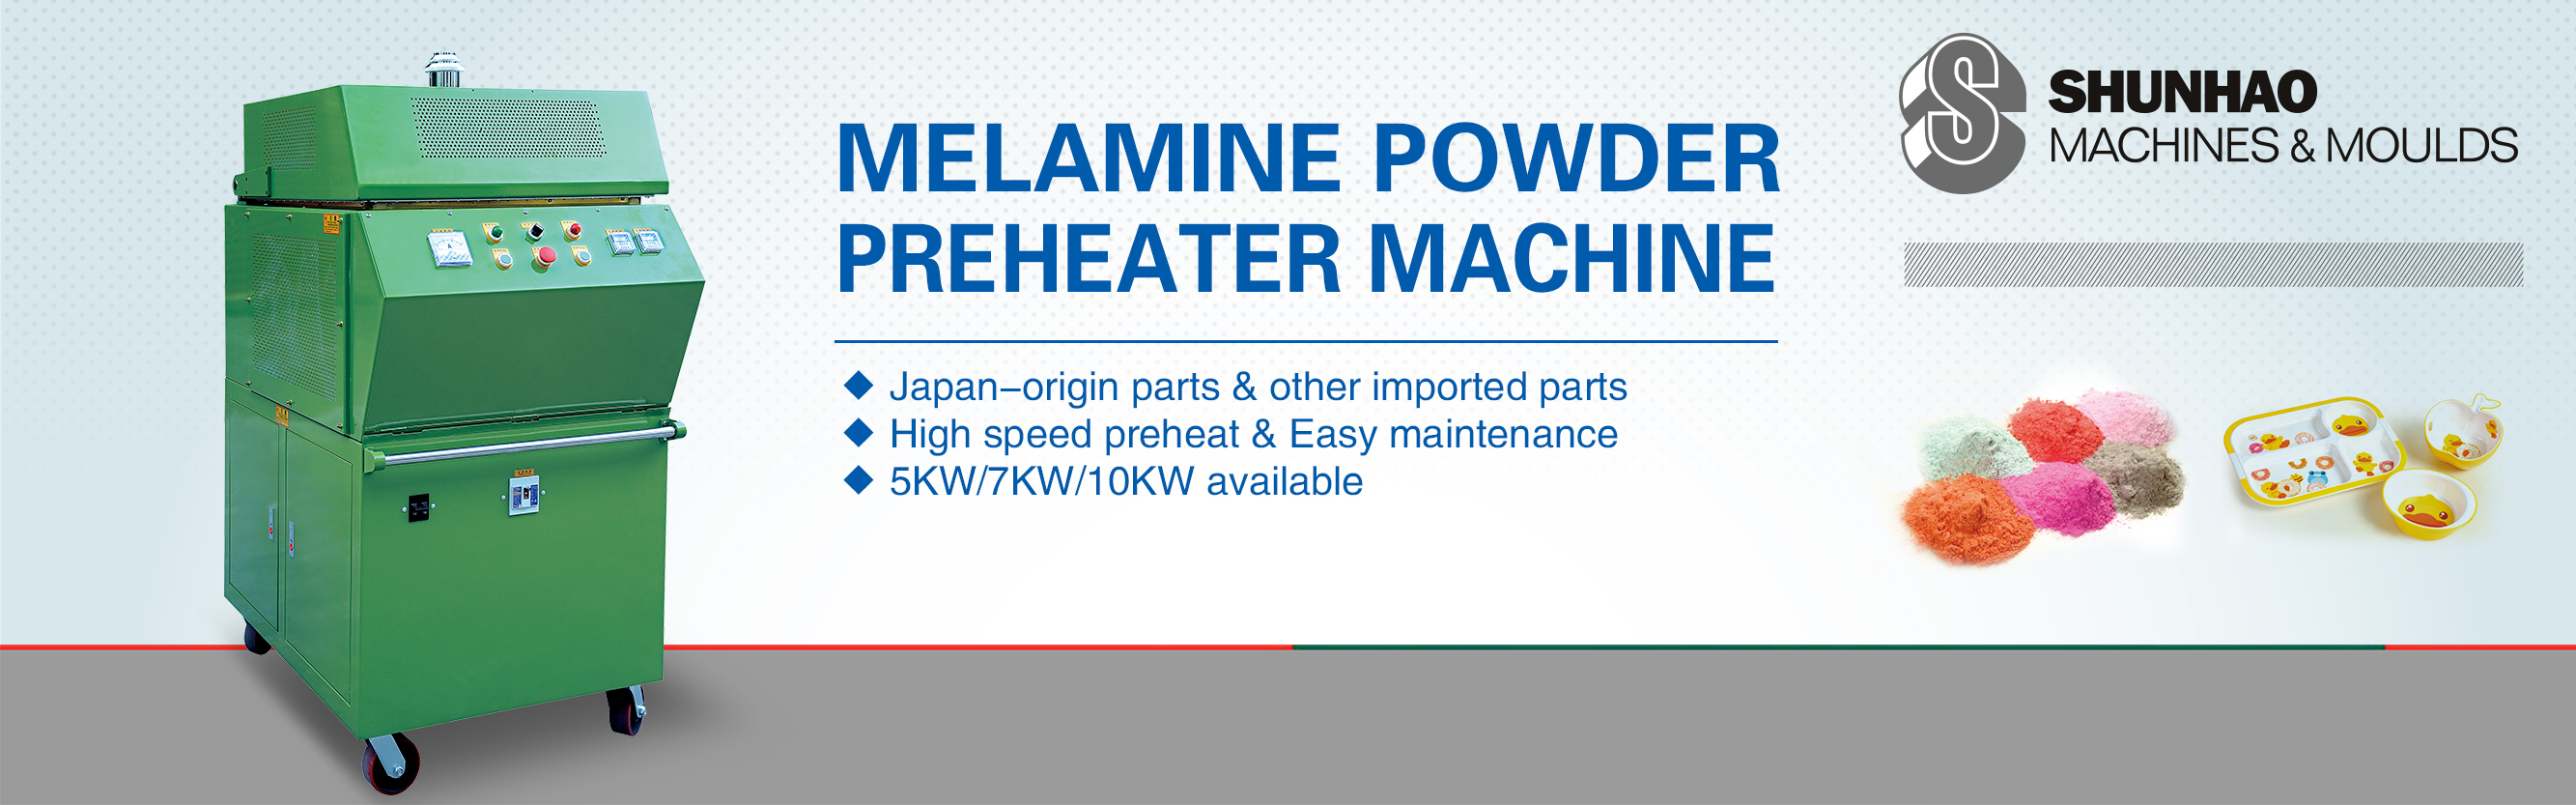
SH-7787product orgin:
CHINAbrand:
Shunhaoshipping port:
XIANMEN SEA PORTpayment:
TT/LCMOQ:
1


|
X0
|
L-MOLD
MANUAL/ AUTO
|
|
Y0
|
L-MOLD
MOTOR
|
|
X1
|
L-MOLD RESIN MOLDING START
/MAUNAL FAST-DOWN SWITCH
|
|
Y1
|
L-MOLD
DOWN-VALVE
|
|
X2
|
L-MOLD
PATTERN START SWITCH
|
|
Y2
|
L-MOLD
UP- VALVE
|
|
X3
|
L-MOLD
FINISHING AGENT START SWITCH
|
|
Y3
|
L-MOLD
CORE-LOOSE 3
|
|
X4
|
L-MOLD
MOTOR START SWITCH
|
|
Y4
|
L-MOLD
CORE-LOOSE 3
|
|
X5
|
L- MOLD
MOLD RETURN SWITCH
|
|
Y5
|
L-MOLD L-PRESSURE VAVLE
|
|
X6
|
L-MOLD MANUAL FAST-DOWN SWITCH
|
|
Y6
|
L-MOLD PRESSURING VALVE
|
|
X7
|
L-MOLD
MANUAL FAST-UP SWITCH
|
|
Y7
|
L-MOLD RELIEF VALVE
|
|
X10
|
L-MOLD MANUAL LOW-DOWN SWITCH
|
|
Y10
|
L-MOLD EXAUSTING VALVE
|
|
X11
|
L-MOLD MANUAL LOW-UP SWITCH
|
|
Y11
|
L-MOLD PREFILL VALVE
|
|
X12
|
L-MOLD
1 CYLINDER BACK
|
|
Y12
|
L-MOLD BACK VALVE
|
|
X13
|
L-MOLD
1 CYLINDER FORWARD
|
|
Y13
|
L-MOLD
MOLDING TIME
|
|
X14
|
L-MOLD
EMERGENCY STOP
|
|
Y14
|
L-MOLD
CORE-LOOSE 1
|
|
X34
|
L-MOLD
2 CYLINDER BACK
|
|
Y15
|
L-MOLD
CORE-INSERT 1
|
|
X35
|
L-MOLD
2 CYILNDER FORWARD
|
|
Y16
|
L-MOLD
CORE-LOOSE 2
|
|
X40
|
L-MOLD
3 CYLINDER BACK
|
|
Y17
|
L-MOLD
CORE-INSERT 2
|
|
X41
|
L-MOLD
3 CYLINDER FORWARD
|
|
|
|
|
X44
|
L-MOLD
CORE-INSERT START
|
|
|
|
|
|
R-MOLD INPUT X
|
|
|
R-MOLD OUTPUT Y
|
|
X15
|
R-MOLD
MANUAL / AUTO
|
|
Y20
|
R-MOLD MOTOR
|
|
X16
|
R-MOLD STAY LIMITD RESIN
MOLDING START SWITCH
|
|
Y21
|
R-MOLD DOWN VALVE
|
|
X17
|
R-MOLD UP-LIMITED/EMERGENCY
STOP/PATTERN START SWITCH
|
|
Y22
|
R-MOLD
UP-VALVE
|
|
X20
|
R-MOLD
FINISHING START SWITCH
|
|
Y23
|
R-MOLD
CORE-LOOSE 3
|
|
X21
|
R-MOLD
MOTOR START SWITCH
|
|
Y24
|
R-MOLD
CORE-INSERT 3
|
|
X22
|
R-MOLD
MOLD BACK
|
|
Y25
|
R-MOLD L-PRESSURE VALVE
|
|
X23
|
R-MOLD
MANUAL FAST-DOWN
|
|
Y26
|
R-MOLD PRESSURING VALVE
|
|
X24
|
R-MOLD
MANUAL FAST-UP
|
|
Y27
|
R-MOLD RELIEF VALVE
|
|
X25
|
R-MOLD
MANUAL SLOW-DOWN
|
|
Y30
|
R-MOLD EXAUSTING VALVE
|
|
X26
|
R-MOLD
MANUAL SLOW-UP
|
|
Y31
|
R-MOLD PREFILL VALVE
|
|
X27
|
R-MOLD
1 CYLINDER BACK
|
|
Y32
|
R-MOLD BACK VALVE
|
|
X30
|
R-MOLD
1 CYLINDER FORWARD
|
|
Y33
|
R-MOLD
MOLDING TIME
|
|
X31
|
R-MOLD EMERGENCY STOP
|
|
Y34
|
R-MOLD
CORE-LOOSE 1
|
|
X36
|
R-MOLD
2 CYLINDER BACK
|
|
Y35
|
R-MOLD
CORE-INSERT 1
|
|
X37
|
R-MOLD
2 CYLINDER FORWARD
|
|
Y36
|
R-MOLD
CORE-INSERT 2
|
|
X42
|
R-MOLD
3 CYLINDER BACK
|
|
Y37
|
R-MOLD
CORE-INSERT 2
|
|
X43
|
R-MOLD
3 CYLINDER FORWARD
|
|
|
|
|
X45
|
R-MOLD CORE-INSERT START
|
|
|
|

|
Malfunction
|
Reason
|
Troubleshooting
|
|
Machine can not ascend
|
1.power switch off
2.motor rotation direction wrong
3.hydraulic oil insufficient
4.Thermal replay tripping over motor load.
|
1.Switch power on
2.change to connect any 2 of 3 pcs of power wires
3.Filling enough oil
4.Switch on the blue reset button of thermal relay
|
|
Motor sounds but not run
|
One wire of 3 wires three-phase broken off
|
Change new wire and connect
|
|
Pressure can not go as per requirement
|
1. a foreign
body stuck in the high-pressure valve
2. The lack of
high-pressure valve set
3. The H-pressure valve seal damaged and leakage
4. The relief
valve is a foreign body stuck
5. The
high-pressure pump damaged
6. The
auxiliary cylinder piston seal damaged
7. Slow-Up limit switch is not in contact or disconnection
|
1. Remove and clear
2. Turn to the desired pressure of the high-pressure valve
3. Replace the
oil seal
4. Remove and clear
5. Replace the
high pressure pump
6. Replace the
oil seal
7. Adjust to
the appropriate location or replacement
|
prev :
Melamine Crockery Compression Machine Made In Chinanext :
Toilet Seat Cover Molding Machine Manufacturers Melamine Dinnerware Making Machine From Shunhao
We are the factory of Melamine Dinnerware Making Machine for making trays,bowls,forks,spoons ,mugs,glass.
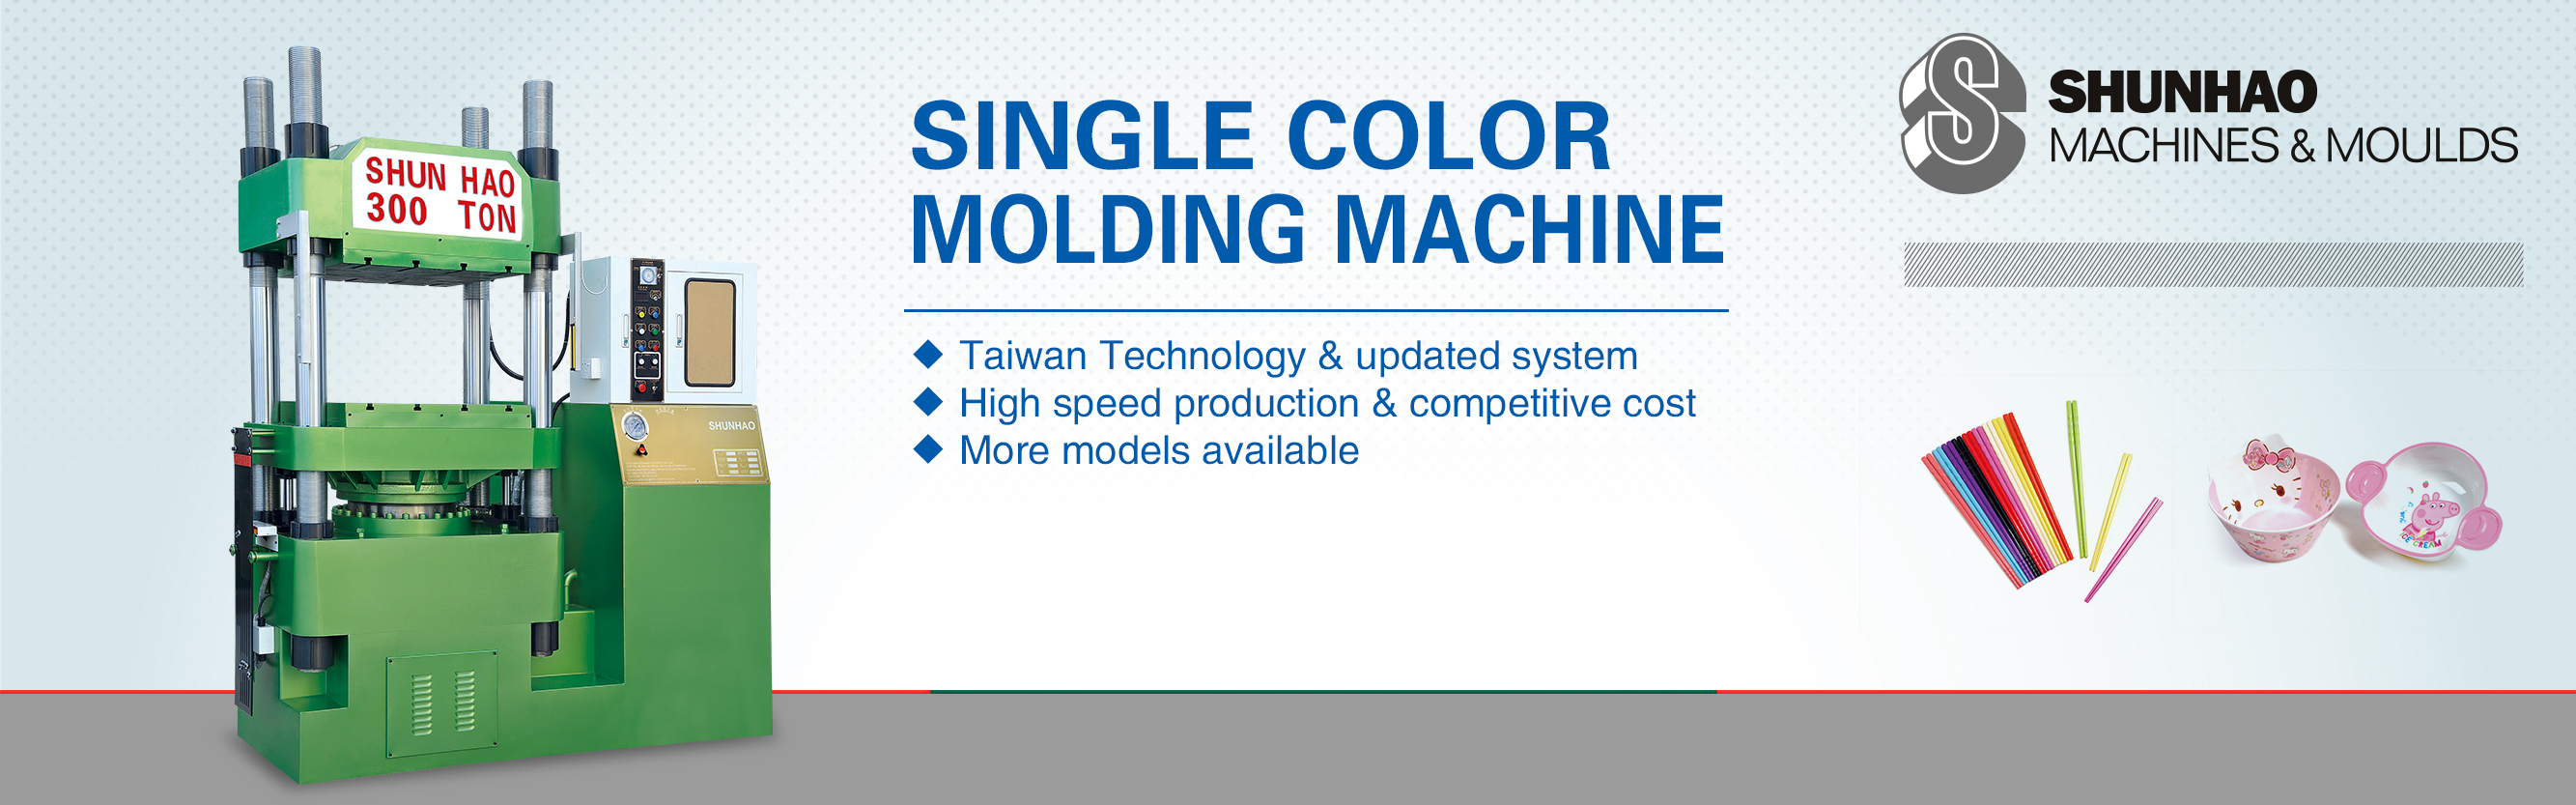
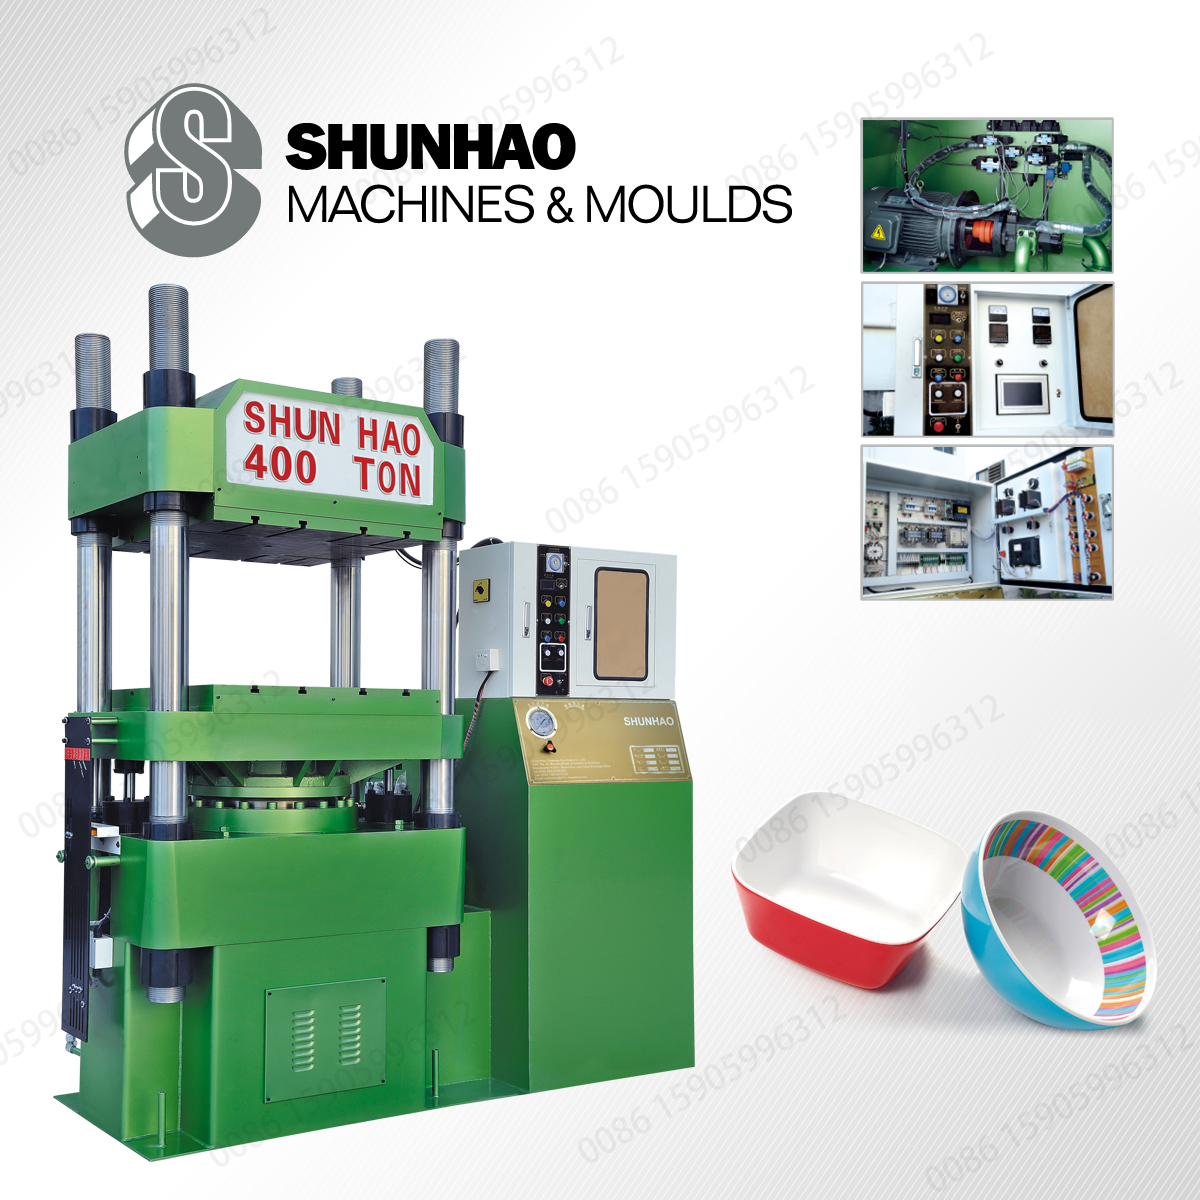
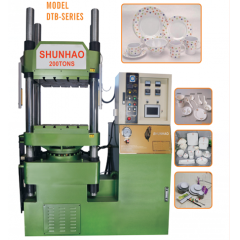 Single Color Melamine Crockery Compression Machine-MADE IN SHUNHAO
We are the factory of melamine tableware compression machine for making trays,mugs,bowls,forks,spoons,ect
 2Color Melamine Crockery Moulding Machine From Shunhao
We are the factory of melamine dinnerware moulding machine for make mugs,glass,forks,spoons,plates,bowls,trays.
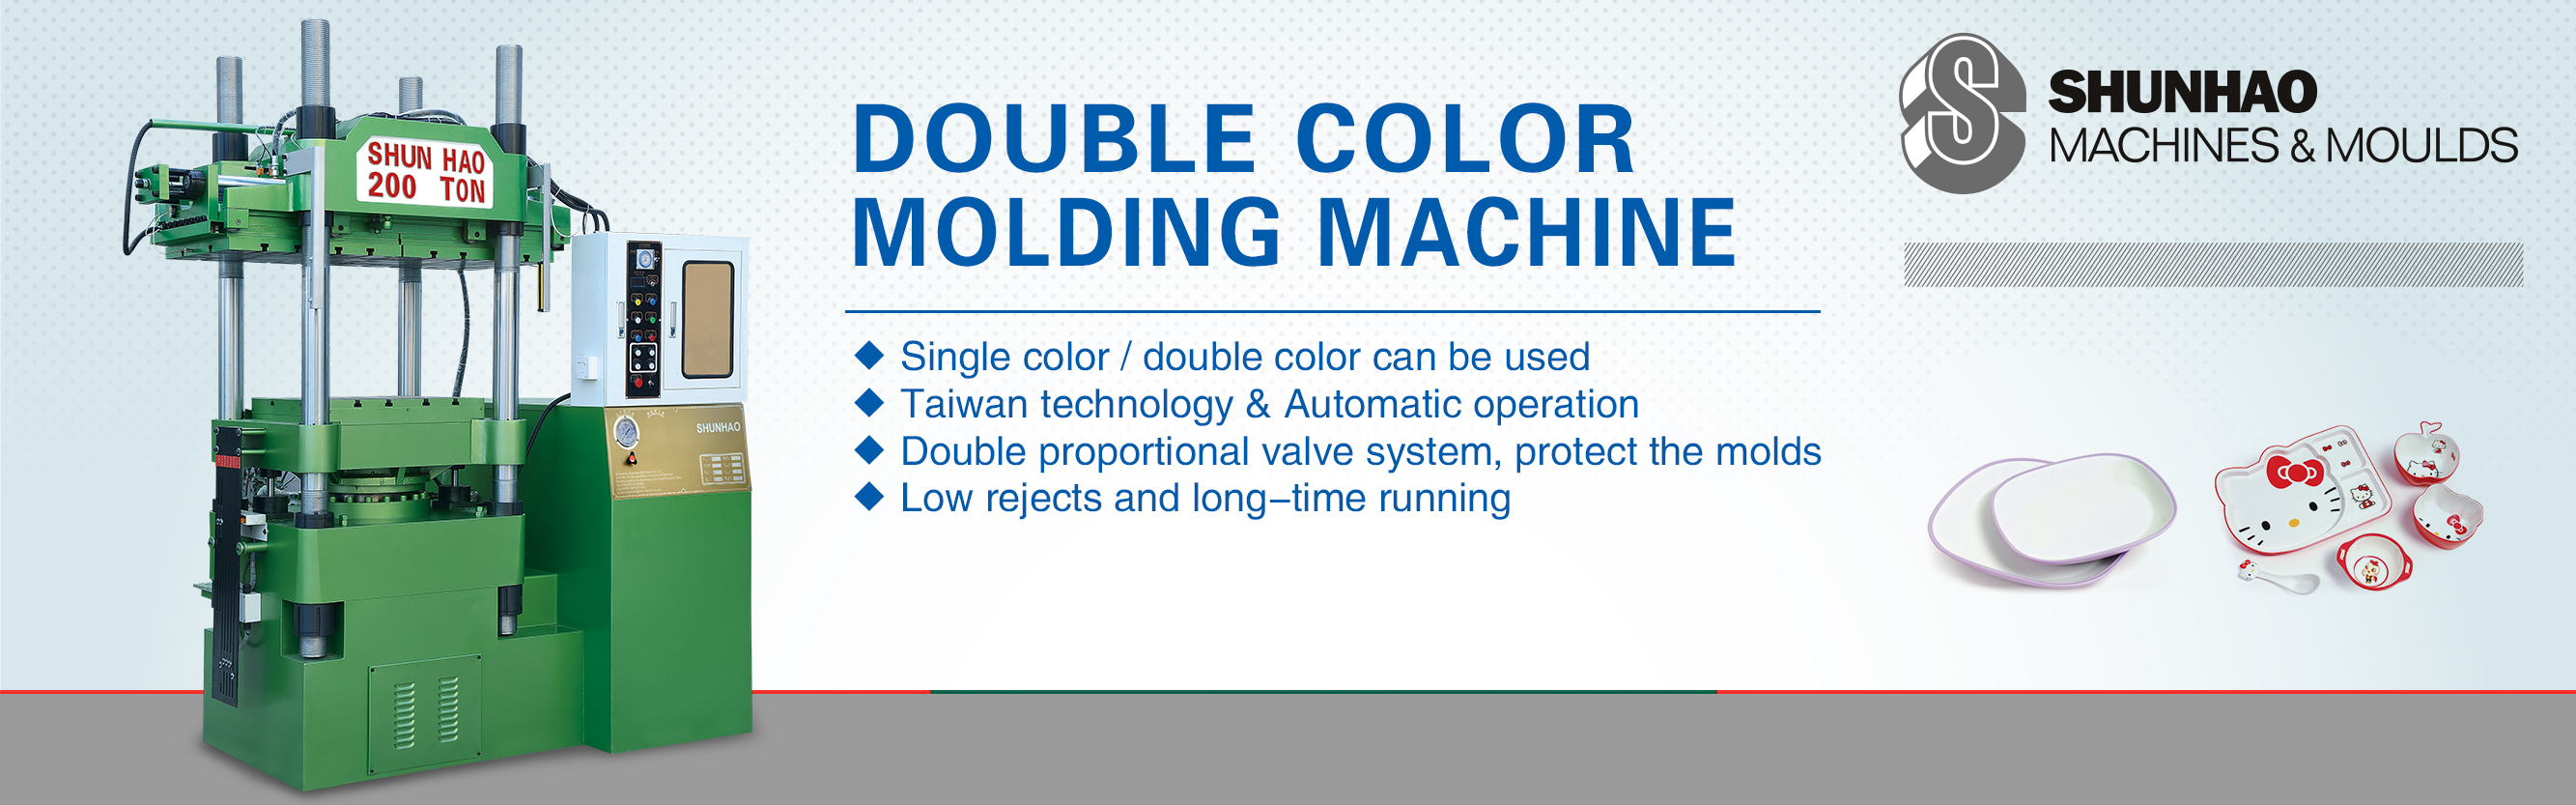
 Double Color Melamine Tableware Making Machine
We are the factory of melamine tableware making machine for making mugs,spoons,forks,trays,bowls plates,dishes.
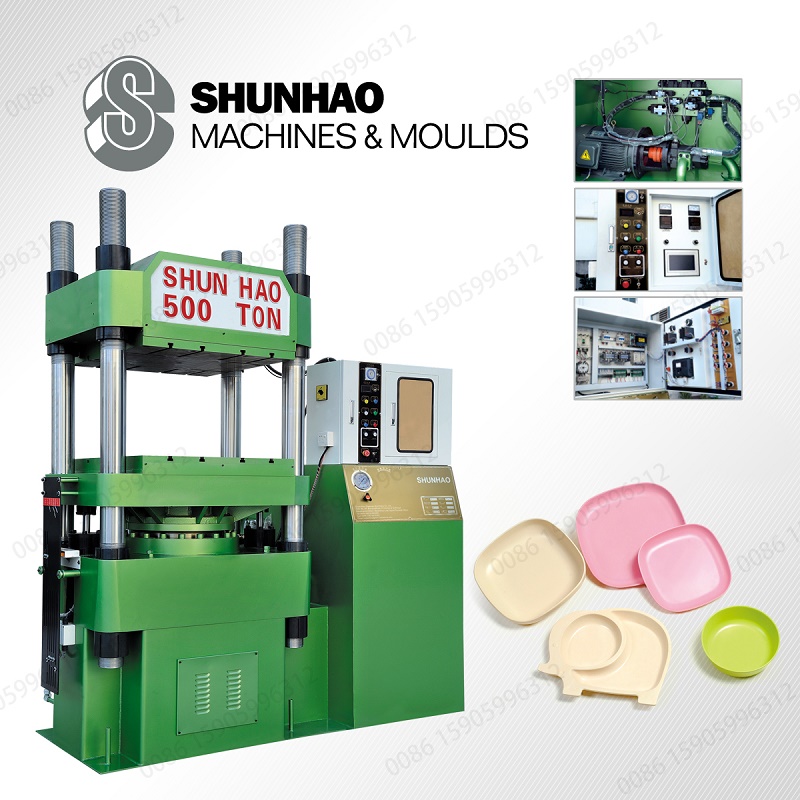
 Melamine Dinnerware Compression Machine From Shunhao
Our machine can be applied in pressing various kinds of melamine dinnerware, such as trays, mugs, plates,chopsticks, spoon, plate, smack-box, starch imitation porcelain tableware plant fiber imitation porcelain tableware, and so on.
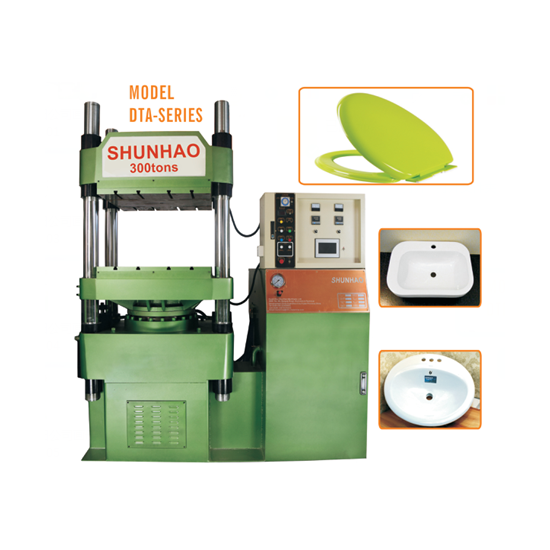
 PLC Control Uf/Urea Toilet Seat Cover Compression Machine
Various Bakelite Molding Operation,Use for UFC and MDF Toilet Seat cover.
 Automatic Single Color Melamine Tableware Compression Machine-MADE IN TAIWAN
Melamine hydraulic heating press machine Made In China Suitable for melamine tray, plate, bowl, spoon, cup, mug, ashtray melamine toilet seat, and what kinds.
 Workshop Show
 Products Show
 Video Show
 OUR CERTIFICATES


the professional team to service !